


Using the New Kentico Cloud Content Management API
As the headless CMS approach becomes more and more common, the implementations become increasingly complex. When a project is new, things are much great! When dealing with an existing application that is moving to the cloud, things get a little more challenging. Luckily, Kentico Cloud has a great new Content Management API to help you out!


Bryan SoltisPublished on Nov 21, 2017
Over the past 2 years, we’ve added a ton of features to Kentico Cloud. From APIs to SDKs, the arsenal of development resources grows nearly every day. One of the latest additions is also one our most requested: The Content Management API.
This new functionality allows you to write data directly into Kentico Cloud headless CMS, making migration projects much easier. In this article, I’ll show you how you can leverage this new feature to port your Kentico EMS content to Kentico Cloud.
Content Management API Overview
Before I get into the details, I wanted to give you a brief overview of our latest API addition. The Content Management API is designed to write data directly into Kentico Cloud. This means you can script your content migrations using standard REST API calls, simplifying the task of porting an application to the cloud.
While we are still building out its capabilities, there’s a lot of functionality available for your projects today.
- Read data from Kentico Cloud
- Create content items
- Update content items
- Upload assets
As you are likely Kentico EMS developers, I wanted to show you how to build a simple module to bring your existing content into Kentico Cloud.
Prepare My Kentico Cloud Project
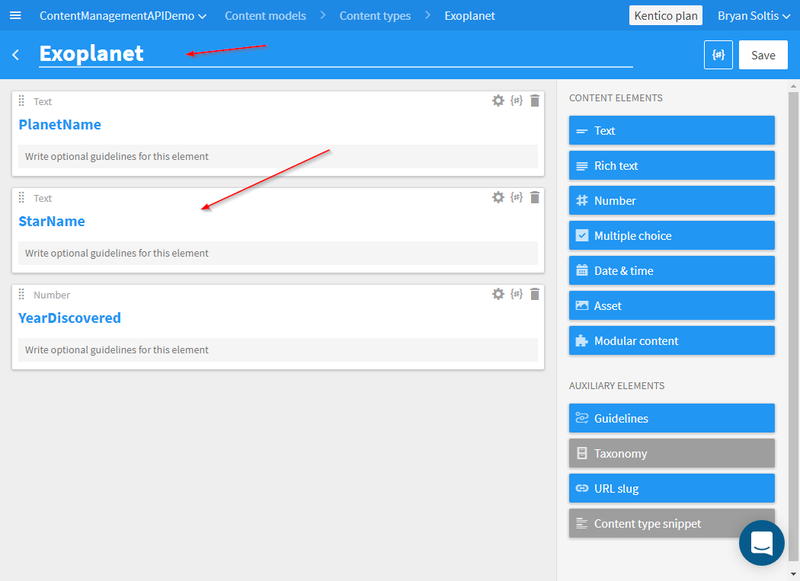
The first step in importing the content is to create the content model in Kentico Cloud. Because the data already exists in Kentico EMS (as a Custom Table in my case), creating the Kentico Cloud content model was just a matter of adding a few fields. I named the fields the same as they are on my EMS site to keep it simple.

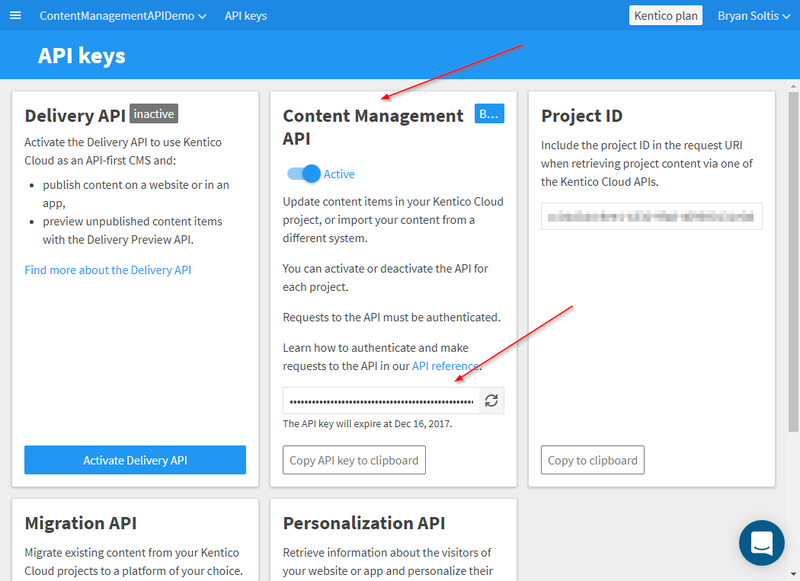
Next, I generated a new Content Management API Key to use within in my code. It’s important to note that these keys are not perpetual and expire after 30 days. The Content Management API is not intended for a real-time sync of data, but rather an ad-hoc, bulk insert action. Be sure to take this into account when you create your import functionality, as you may need to generate a new key if it expires.
Create a Custom Module
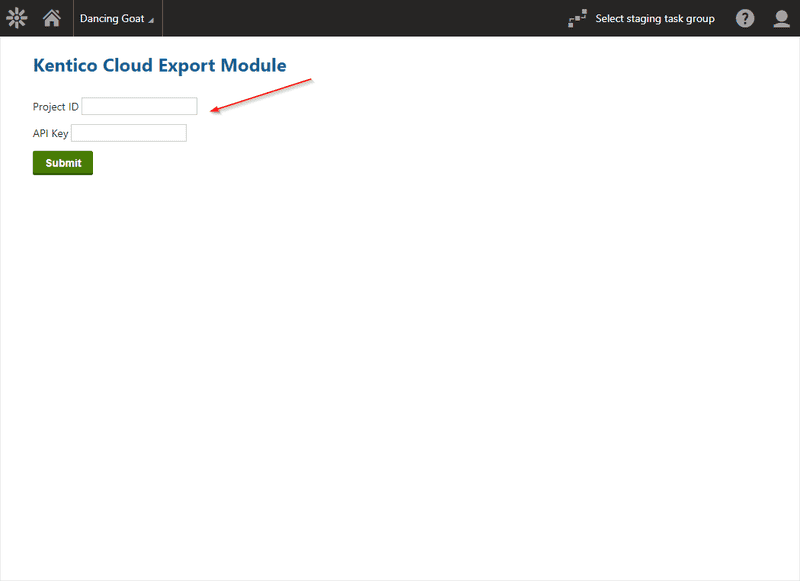
With my Kentico Cloud project prepared, I was ready to add my new module. In Kentico EMS, I created a new CMSPage page and added some basic controls to it. I added a field for the Kentico Cloud Project ID and API Key. These could also be Module Settings, if that’s easier for you to manage.
I also added some simple classes to help me create and serialize my content for exporting. Note that I will be using the Element class to hold the custom table records. This is to create the specific structure I need so that the data is serialized properly when posted to the REST API.
#region Classes
    public class Exoplanet
    {
        public string Name { get; set; }
        public Type Type { get; set; }
        public List<string> sitemap_locations { get; set; }
        public Element elements { get; set; }
    }

    public class Type
    {
        public string codename { get; set; }
    }

    public class Element
    {
        public string planetname { get; set; }
        public string starname { get; set; }
        public int yeardiscovered { get; set; }
        [JsonIgnore]
        public string planetimage { get; set; }
    }
#endregion
Content Management API Code
Next, I added my custom functionality. First, I used the Custom Table API to extract my data. You could also export Pages or other data, if it’s part of your content.
                List<Element> lstExoplanets = new List<Element>();

                // Prepares the code name (class name) of the custom table
                string customTableClassName = "custom.Exoplanets";

                // Gets the custom table
                DataClassInfo customTable = DataClassInfoProvider.GetDataClassInfo(customTableClassName);
                if (customTable != null)
                {
                    // Gets all data records from the custom table
                    var customTableData = CustomTableItemProvider.GetItems(customTableClassName);

                    // Loops through individual custom table records
                    foreach (CustomTableItem item in customTableData)
                    {
                        //TODO: Finish planet image integration
                        //string pattern = @"[0-9a-fA-F]{8}\-[0-9a-fA-F]{4}\-[0-9a-fA-F]{4}\-[0-9a-fA-F]{4}\-[0-9a-fA-F]{12}";
                        //string input = ValidationHelper.GetString(item.GetValue("PlanetImage"), "");

                        //var guid = Regex.Match(input, pattern, RegexOptions.IgnoreCase).Value;

                        // Add a new Element object to the list
                        lstExoplanets.Add(new Element
                        {
                            planetname = ValidationHelper.GetString(item.GetValue("PlanetName"), ""),
                            starname = ValidationHelper.GetString(item.GetValue("StarName"), ""),
                            yeardiscovered = ValidationHelper.GetInteger(item.GetValue("YearDiscovered"), 1900)
                        });
                    }
                }
For each of the records in my custom table, I created a new Element object to hold the details. I added them to my List<Element> list.
Posting to Kentico Cloud
Next, I looped through my List<Element> list and prepared the data to post to Kentico Cloud. The first step of this process was to create a new HttpClient client for the post.
                    // Create a client to connect to Kentico Cloud
                    var client = new HttpClient
                    {
                        BaseAddress = new Uri("https://manage.kenticocloud.com/projects/" + txtProjectID.Text + "/")
                    };
                    client.DefaultRequestHeaders.Accept.Add(new MediaTypeWithQualityHeaderValue("application/json"));
                    client.DefaultRequestHeaders.Authorization = new AuthenticationHeaderValue("Bearer", txtAPIKey.Text);
Next, I created a new Exoplanet object to hold all the content item data.
 Exoplanet planet = new Exoplanet();
 planet.Name = element.planetname;
 planet.Type = new Type { codename = "exoplanet" };
 planet.sitemap_locations = new List<string>();
 planet.elements = element;
Note that I assign the Element data to the elements property of the Exoplanet. This is so when the Exoplanet object is serialized, the elements property data will be structured exactly how the Content Management API will be expecting it.
With the client and data created, I was ready to post the content to Kentico Cloud. This included a two-step process for the insert.
First, I made a post to the API to create the new object. I used the PostAsJsonAsync function to perform a POST of the serialized data. This action creates the new content item within Kentico Cloud.
// Create the item within the Kentico Cloud project
 HttpResponseMessage response = await client.PostAsJsonAsync("items", planet);
 response.EnsureSuccessStatusCode();
I retrieved the new content item id from the results.
// Parse the response
 JObject jobj = JObject.Parse(response.Content.ReadAsStringAsync().Result);
With the object created, I then performed a PUT request to update the new object with the elements and other details.
 // Update the new item with the planet details
 HttpResponseMessage response2 = await client.PutAsJsonAsync("items/" + (string)jobj["id"].Value<string>() + "/variants/codename/default", planet);
 response2.EnsureSuccessStatusCode();
 sb.Append(element.planetname + " exported!<br />");
I then added the item to the list of exported planets for reporting.
Testing
After configuring my Kentico Cloud project and creating my code, I was ready to test my new module. First, I created some data in my Custom Table in Kentico EMS to export.

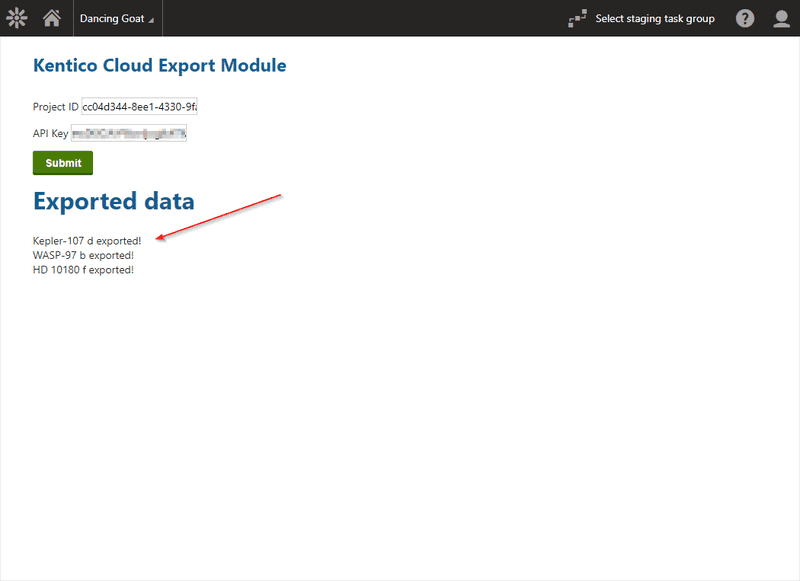
Next, I opened the new module from the Applications list.
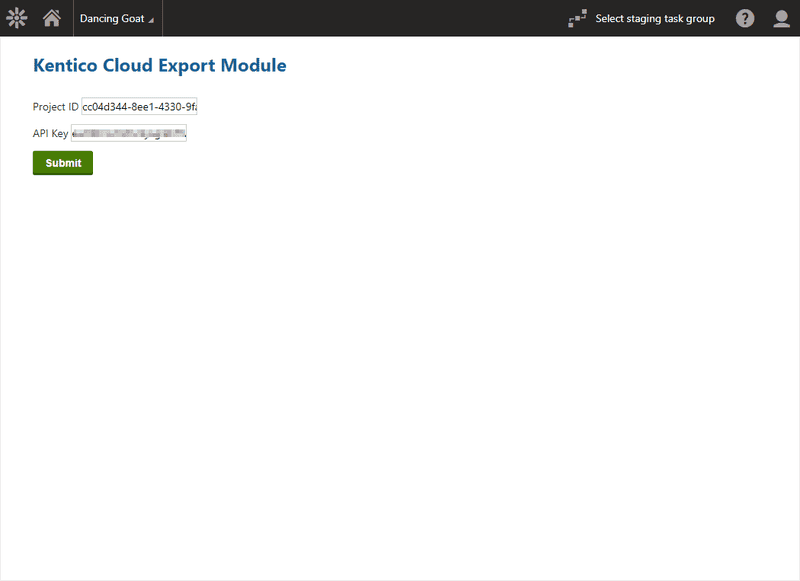
I clicked the Submit button. I confirmed the records were displayed.
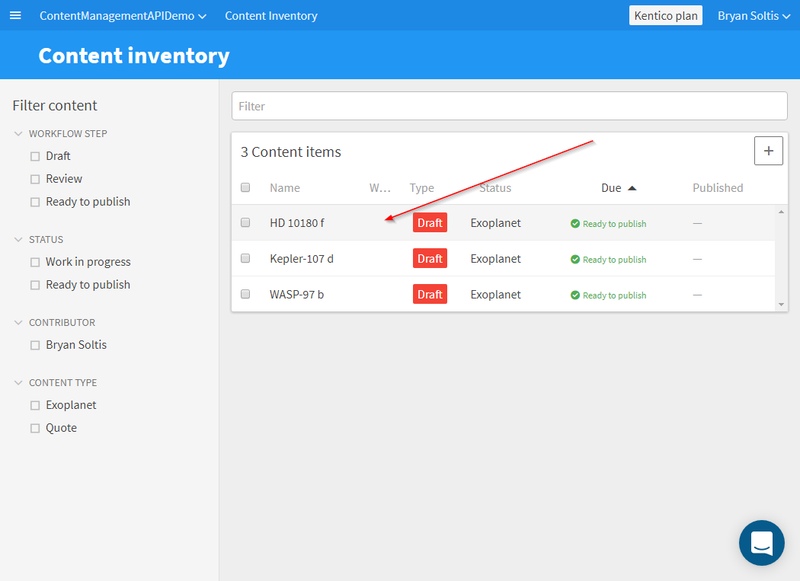
I then opened my Kentico Cloud project and confirmed the items were created.
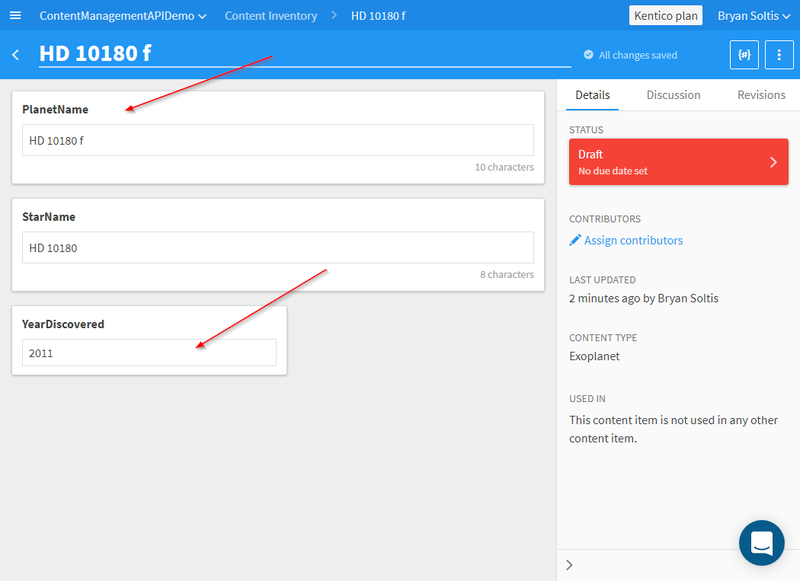
I selected one of the items and confirmed the details were correct.
Future Plans
In this example, I showed how to do some basic content uploading using the new API. There’s so much more! The API supports assets, multiple choice content types, and other advanced features that I just didn’t get into this blog. In the future, I’m planning to update this code with some more capabilities, including uploading media library files directly Kentico Cloud as assets.
The Kentico Cloud Team is still working on the Content Management API and we’re open to your feedback to make it suit your needs.
Moving Forward
The new Kentico Cloud Content Management API opens a ton of doors for developers looking to migrate existing content. By leveraging this new functionality, you can move your existing content to the cloud and leverage all the great capabilities Kentico Cloud has to offer. Be sure to check out this new resource when building your applications and moving your applications to the Kentico Cloud. Good luck!

Feeling like your brand’s content is getting lost in the noise?
Listen to our new podcast for practical tips, tricks, and strategies to make your content shine. From AI’s magic touch to content management mastery and customer experience secrets, we’ll cover it all.
Listen now


Subscribe to Kontent.ai Newsletter
Stay in the loop. Get the hottest updates while they’re fresh!
