Set up preview for Web Spotlight
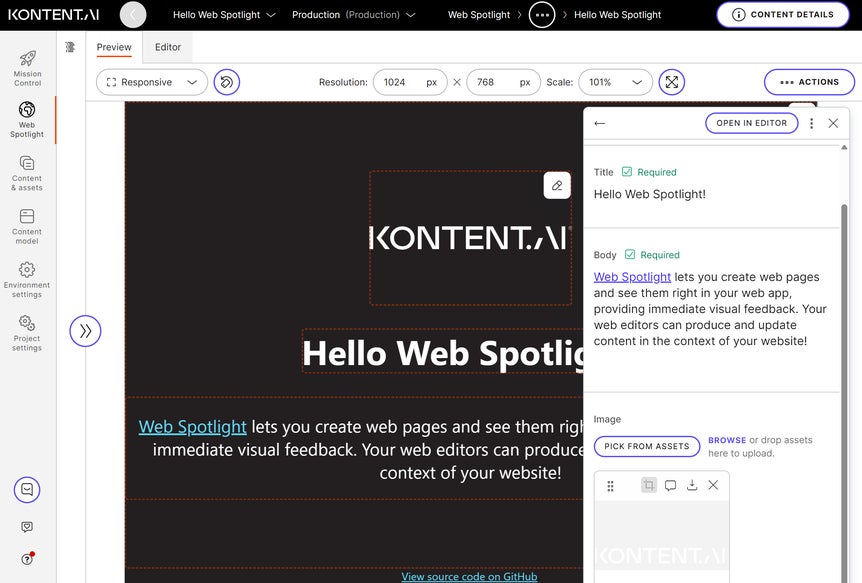
You can already use Web Spotlight to manage page trees and their content. When you add content preview to the mix, content creators gain in-context editing directly in the Web Spotlight preview.
Web Spotlight requirements for preview
Compared to previewing your content directly in your app, Web Spotlight preview comes with specific security requirements.Because your app will be loaded and sandboxed in an
<iframe> within Kontent.ai, you need to ensure a few things:- Always use a secured connection (HTTPS) for your URLs, such as
https://preview.example.org. - Allow your app to load within Kontent.ai using the
Content-Security-Policyheader and the frame-ancestors directive:
frame-ancestors https://app.kontent.ai. - To enable opening external links from your app, such as PDFs stored as assets in Kontent.ai, you need to set
sandboxdirectivesusing the
Content-Security-Policyheader. For example, the directiveallow-popups-to-escape-sandboxallows opening external links,allow-formsallows submitting forms,allow-downloadsallows downloads after users click a link, and so on. - Make sure your web browser allows third-party cookies and that your cookies are designed for a 3rd-party context by setting cookies attributes
SameSite=None; Secure. - If you first want to test your implementation locally, you need to generate a self-signed HTTPS certificate.
Add a preview URL
Preview URLs are tied to content types and tell Kontent.ai which URLs to use for your content preview.- In Kontent.ai, go to Environment settings > Preview URLs.
- On the Space domains tab, provide the domain for the Website space. For example,
learn-hello-web-spotlight.surge.shwithout the protocol. - Click Save changes.
{Space} macro.
- In Environment settings > Preview URLs, select the Preview URLs for content types tab.
- Click Set up preview for a content type.
- From the list of content types, select Web spotlight root.
- In Used in spaces, select Website.
- In Preview URL, enter
https://{Space}/. - Click Confirm.
- Click Save changes.
Enjoy content editing in Web Spotlight
With the preview URLs set up, you can now tweak your content directly in Web Spotlight. After you make a change, the preview in Web Spotlight refreshes itself in a few seconds.
What’s next?
Now that you have smart links in Web Spotlight working and you can edit your content in the context of your website, you might ask, what else is there?
- Think through your routing and URL strategy. Your app should be able to resolve a URL for any page in the page tree. But there are multiple ways to go about it, depending on your needs and requirements.
- If you need to work with multiple websites in Web Spotlight, add more spaces.
- Check the documentation for Smart Link SDK
to ensure you’re using it to the fullest. Apart from editable elements shown in an earlier lesson, you can specify buttons for creating new content, use a partial content refresh for better performance, and adjust the look and feel of components.
- Explore our multi-site sample project to see Web Spotlight with three websites, each serving different content for a different company brand.