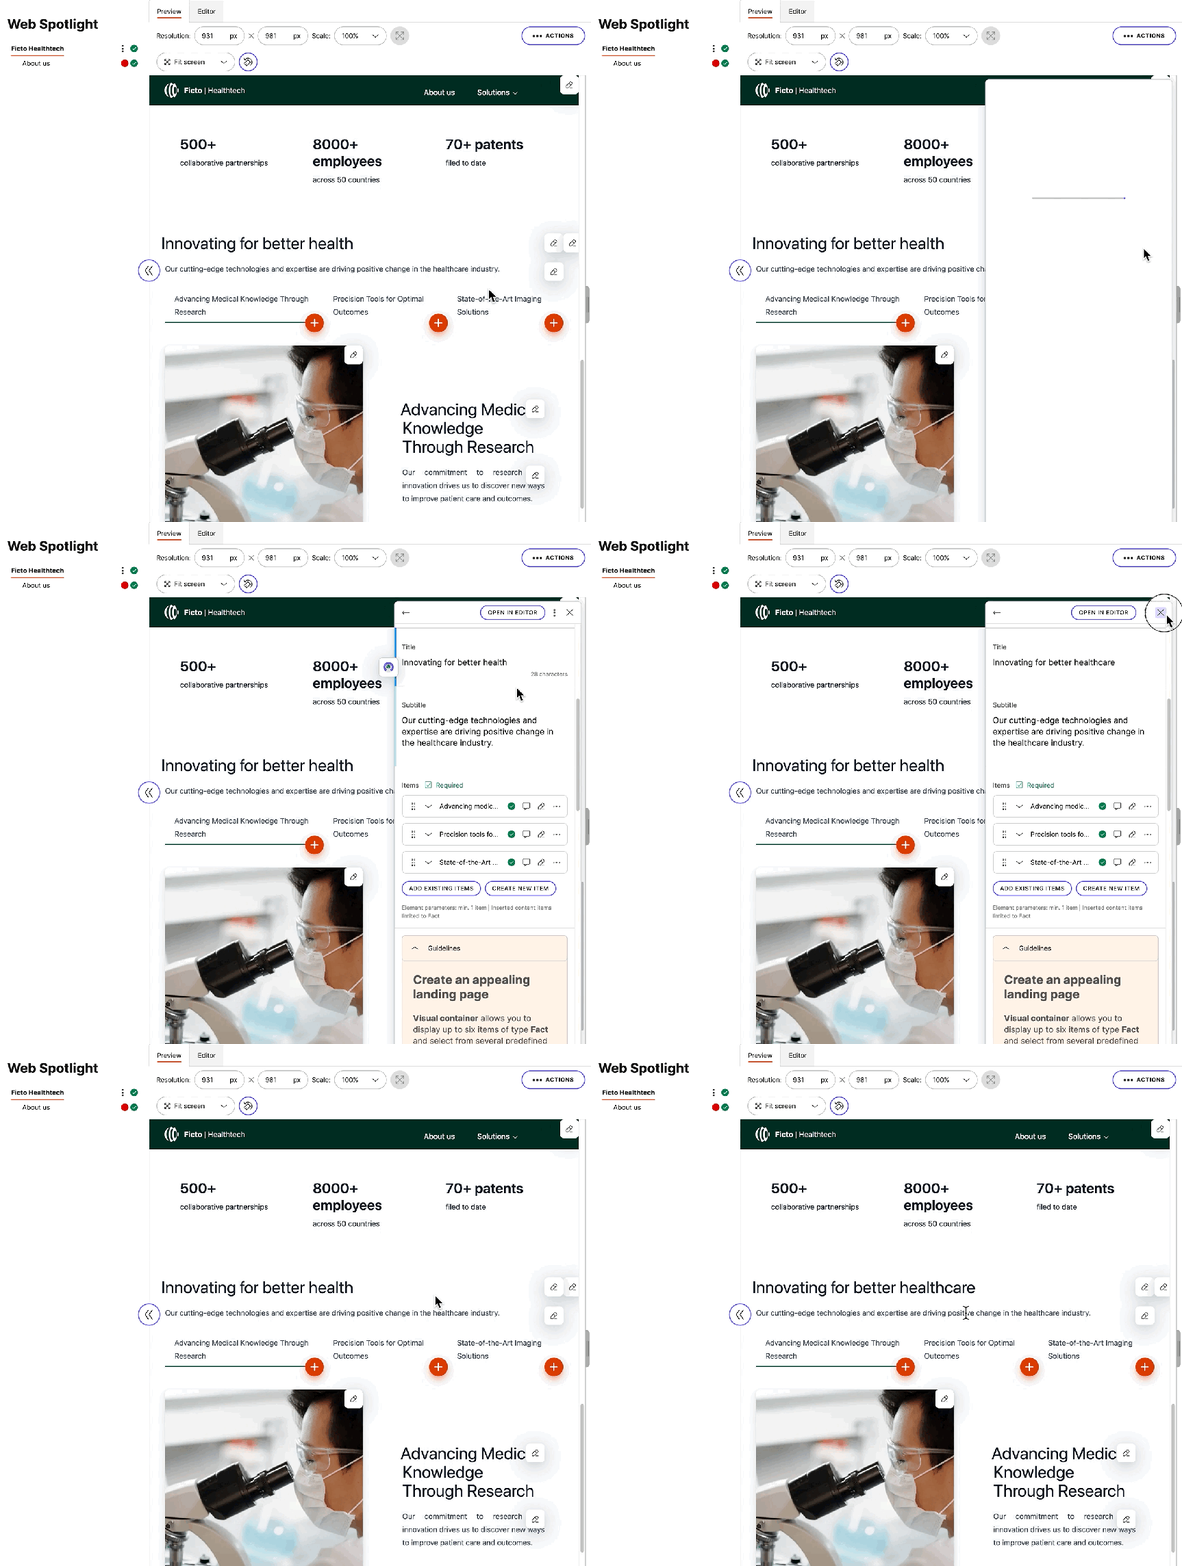
Migrate an existing project to use Web Spotlight
Web Spotlight is the way to go for Kontent.ai projects used for a website. When you start fresh, you just start using it and don’t need to deal with any migration. But what about using Web Spotlight for an already existing enterprise project?
- Planning is the key to a successful transition to Web Spotlight. Map out all the upcoming changes.
- Add subpages to your existing navigation. It’s likely easier than adjusting the predefined content type to your liking.
- Both old and new navigation approaches need to work for some time to prevent downtimes.
- Don’t forget to train your colleagues and do a clean-up at the end.
1. Look before you leap
The better planned out your transition is, the fewer issues you’ll need to solve on the go. Write down notes of your action plan. If unsure, consult with our support. You most likely want your website with as short an outage as possible. Therefore, you’ll need to support both old and new navigation for some time. We recommend using an environment variable that signifies which navigation is used in the environment. Before you continue to the next step, ensure people you need for this transition have time to their part. You’ll make changes to the following:- Content model (and project configuration in general) to make changes outlined in the following steps.
- Development code to incorporate changes in the content model.
- Content creation process to reflect authoring through Web Spotlight.
2. Set the stage
In this step, make sure you’ll adjust your project in a non-production environment.- Create a separate environment.
- Activate Web Spotlight for the newly created, non-production environment.
- (Optional) Create a project backup – clone your project and archive the cloned copy. It’s not required, but just to be extra careful.
3. Choose the right navigation approach
Because Kontent.ai is versatile, there are multiple ways to build navigation. Web Spotlight works with the navigation modeled in Kontent.ai according to our best practice for navigation. That means you model the page tree via the content model, and your content creators can edit it based on their permissions.4. Set up your homepage
Once you activate Web Spotlight, you’ll find a new item named Homepage in your project. It comes with two elements, Content and Subpages.- In the Subpages element, link pages to define your website’s top-level navigation.
- The Content element is a linked item element and specifies what content is displayed on the homepage.
5. Add pages to your page tree
Web Spotlight creates the Page type for pages. However, using your original navigation in an existing project will be much easier. Ensure your navigation content types use the Subpages element instead of the Linked items element. Create the Subpages element manually for all content types where it makes sense. If you have a lot of content, use the Kontent.ai CLI to help you with these tasks.6. Set up preview
Preview is a must for reaping the benefits of Web Spotlight. Provide preview URLs for every content type and enhance your website with clickable regions, called editable elements, using the Kontent.ai Smart Link SDK. This will let your content creators live-edit the content directly from the preview.
7. Redirect your stray sheep
Since you’ve changed the content model, some of your content may end up under different URLs after adopting Web Spotlight. If you’re a heavy cross-linker, this could lead to lots of 404s, especially if caching plays against you. If you don’t have any support for setting redirects yet, consider whether you need to create redirect rules directly in Kontent.ai. Discuss suitable approaches to avoid 404s with your technical staff.8. Implementation and testing
After you finish changes to your content model, ensure your code supports the new elements. As subpages work similarly to linked items, you’ll only make a few adjustments. Then, test your navigation in a non-production environment. Test the navigation from both the external and internal points of view. The navigation must work for your customers, and your authoring team needs to be able to easily set the page tree structure.9. Go live
After verifying everything works as expected, swap the environments and publish your updated code. When the right time comes, switch to the new navigation in your app. Typically, you’ll change the environment variable specifying which navigation is used and restart your application. However, specific actions can vary in different setups. Train your coworkers to use the new Web Spotlight authoring experience. You can use the path about the first steps in content creation and the developer documentation to help them.10. There’s always a clean-up
Before you close this project as another notch on your belt, devote some time to clean up. Keeping your content model and code tidy will help you with your future endeavors. Again, use a separate environment to test that your clean-up doesn’t break anything.Remove unused elements and content types that were working for the old navigation. You can remove its logic; you won’t need it anymore. You can also remove the Page content type if you used your content types for the original navigation.Don’t forget to clean your code as well.