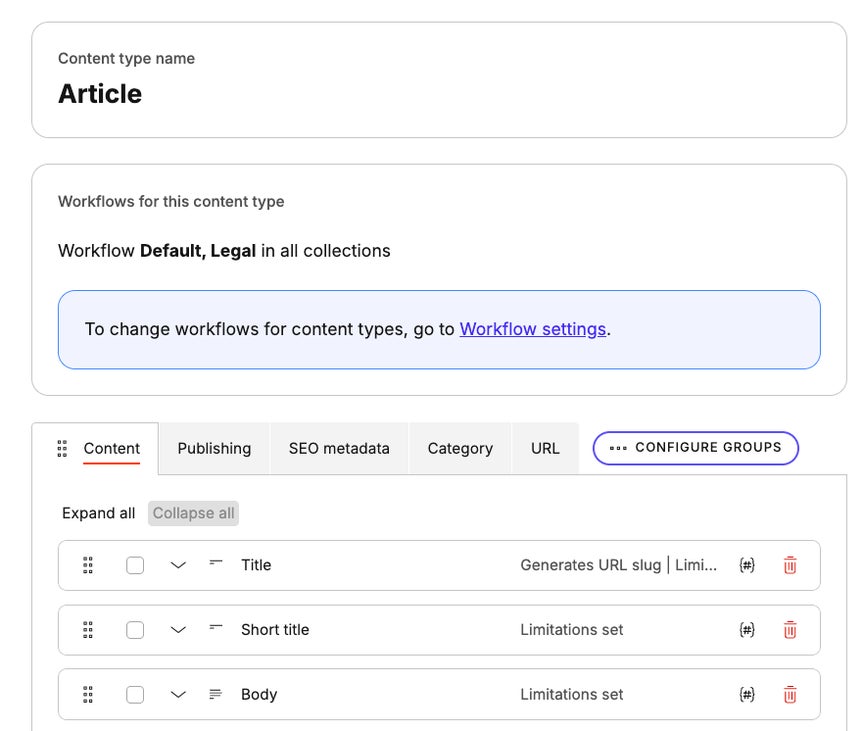
Content groups
Streamline your content creators' work by making their authoring experience cleaner, easier to manage, and less overwhelming. You can achieve this by setting up content groups; a powerful tool for organizing elements within a content type.
- Content groups maximize the content-first approach during your content planning and modeling:
- You can make your content structured, adaptive, and technologically future-proof for your channels.
- Specify which content group can be accessible by setting up permissions for your team’s different roles.
Why are content groups so powerful?
Organize elements- Find important areas – you can easily find what elements you need to work on under a dedicated group.
- Provides a clean template for content creators – you can display media assets and text in one content group and specify campaigns in another.
- Specifications for SEO – you can have a dedicated content group to add specifics of SEO metadata.
- Provide access where it's needed – let content creators work only with the elements that are relevant to them.
- Restrict access to sensitive elements – allow selective roles to access the configuration elements, such as URL redirects or display options.
Create content groups
- In
Content model, open a content type.
- Click
Create new content group.
- Enter a name.
- Click Create content group.
- Click Save changes.
- In
Content model, open a content type.
- Click
Configure groups.
- Enter a name.
- Click Create content group.
- Click Update.
Add elements to content groups
After creating a new content group, you can either click or drag and drop elements inside. The process is the same when adding elements to another content group.
Move elements to other content groups
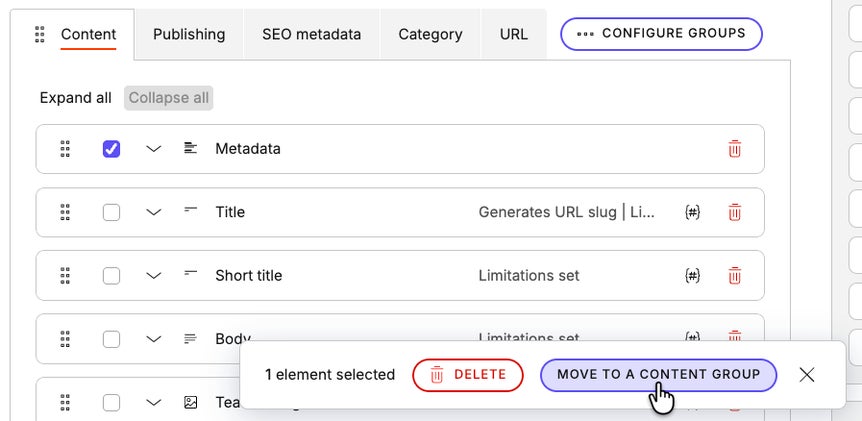
If your existing elements are best suited in a different content group, you can move them:- Select the elements by using the checkboxes by the elements’ names.
- Click Move to a content group.
- Select a suitable content group to move the elements into.
- Click Move elements.
- Click Save changes.

Reorder content groups
To reorder your content groups:- Click the content group you want to move.
- Use
to drag the group where you want.
Rename and delete content groups
You can rename or delete a content group by clicking- Deleting any content group (except the last one) also deletes all the elements it contains.
- If you delete a content group containing elements used in published content, the published content gets deleted as well.
- When you delete the last content group, its elements will remain in the content type and the content will not be deleted.