Element validation
Do you want to make sure your content creators know when their text is too long or a file they uploaded is too large? You can achieve this by setting limitations for elements when defining a content type.
How to configure limitations
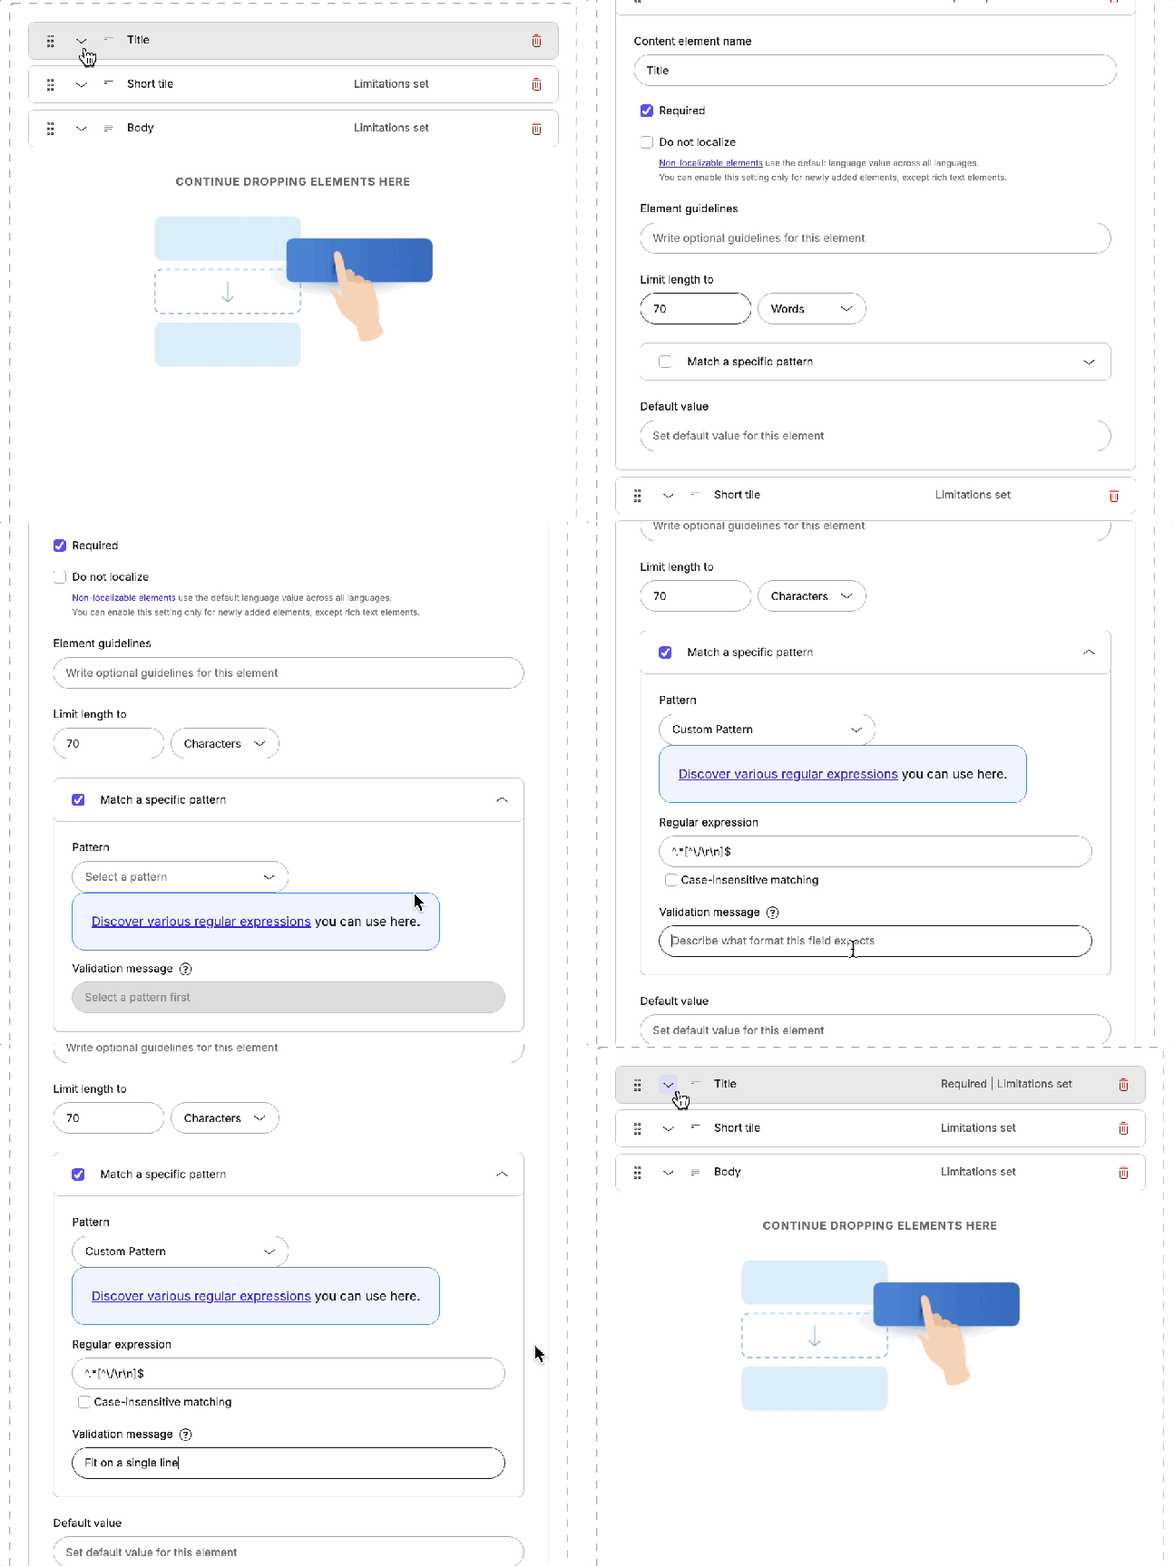
- In
Content model, open a content type for editing.
- For the element you want to limit, click
.
- Adjust the limits to fit your needs.
- Click Save changes.
Use limitations as validation rules
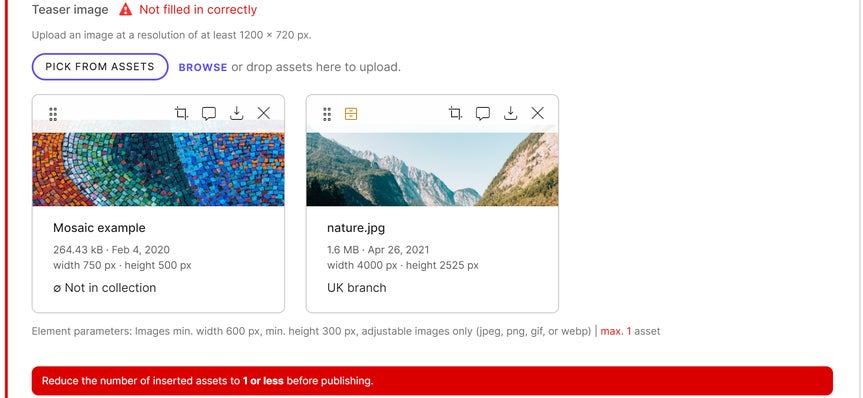
Once you've set the limitations, they work as validation rules and provide content creators with visual cues. These limitations are visual reminders in all workflow steps before the Published step. Content creators see which elements still require work before they can publish the content item.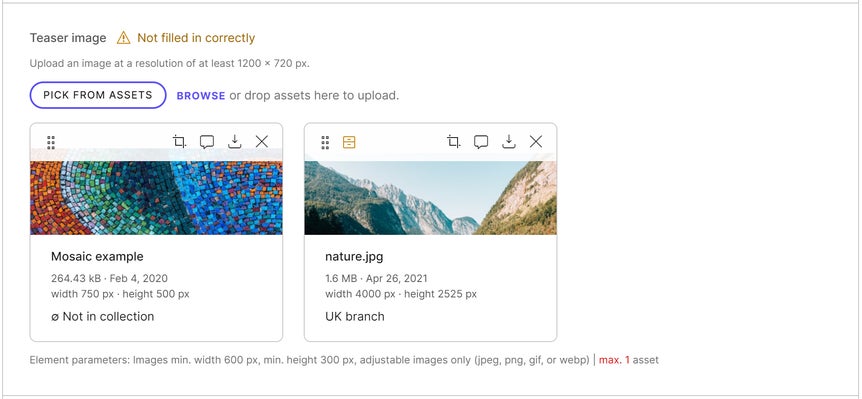
Validation rules for optional elements
You can also define limitations for elements that aren't set as required. For instance, you can make an asset element optional while setting its rules to accept exactly two assets. This results in your content creators being required to either leave the element empty or insert exactly two assets.Finding incomplete elements
There is a handy notification in the content item's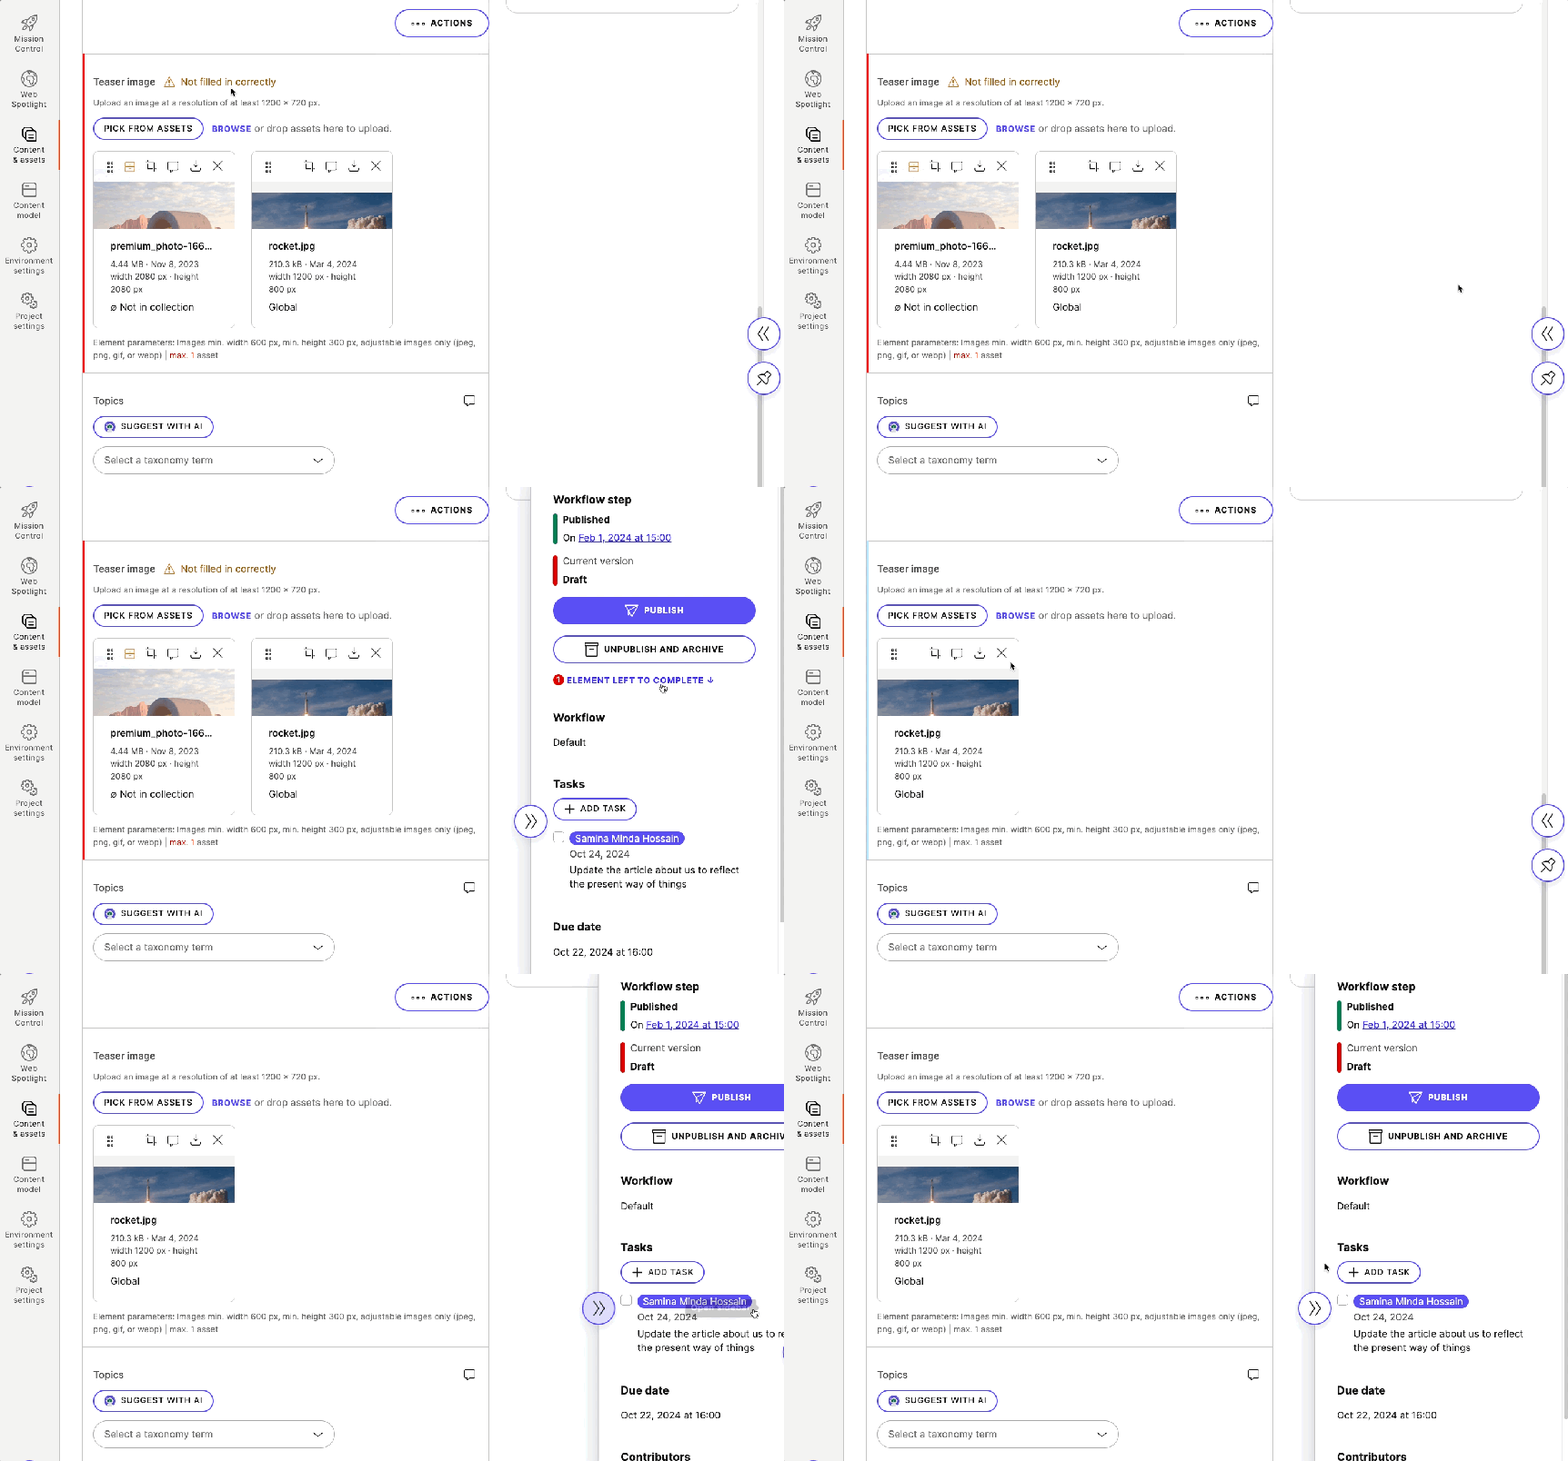
Which elements can have limitations?
Asset elements
Asset elements can have limits in the number of assets (maximum, minimum, or exact number) and maximum size (in kB, MB, or GB). You can set limits for images within the element regarding their height and width (maximum, minimum, or exact number in px). By limiting the file types to Adjustable images, you can restrict formats to only jpg, png, gif, and webp. These image types support image transformation via the Delivery API.Linked items and subpages elements
Linked items and subpages elements can have limits on the number of items that can be added (maximum, minimum, or exact number) and the specific content types that can be added.Rich text elements
Rich text elements can have the following limits set:- The text can have a maximum length set as the number of words or characters. For example, a blog post can have a maximum of 1000 words. A teaser or excerpt can have a length of 150 to 300 characters.
- You can allow only specific types of text formatting. This way, you can prevent content creators, for example, from using H1 headings or links. Text can be allowed or forbidden.
- Images within the element can be limited in their maximum size (in kB, MB, or GB) and height and width (maximum, minimum, or exact number in px). Limiting the image types to Adjustable images allows you to restrict image formats to only jpg, png, gif, and webp. These image types support image transformation via the Delivery API. Images can be allowed or forbidden.
- Components and linked items within the element can be limited to certain content types. Components and linked items can be allowed or forbidden.
- Links to content items within the element can be limited to certain content types. This limitation applies to links in text and tables.
- For tables, you can limit allowed text formatting along with the use of headings, lists, and images in table cells. Tables can be allowed or forbidden.
Taxonomy elements
Taxonomy elements can have limits on the number of terms that can be selected (maximum, minimum, or exact number). If you know that certain terms will be used often, preselect them in the element's default value. The terms will be prefilled when content creators add a new content item.Text elements
Text elements can have a maximum length set as the number of words or characters. For example:- A text element used for titles can be limited to 50 characters or five words.
- A form using text elements can have a limitation of 255 characters.
- Price (number with optional two-digit decimal precision):
^\d+(\.\d{2})?$ - US phone number:
^(\+1[\s\.-]?)?\(?\d{3}\)?[\s.-]?\d{3}[\s.-]?\d{4}$ - Web URL:
^(https?:\/\/(?:www\.|(?!www)))?[a-z0-9]+([\-\.]{1}[a-z0-9]+)*\.[a-z]{2,63}(:[0-9]{1,5})?(\/.*)?$
^ and end it with $. For example, use ^[0-9]+$ to allow only numbers. If you'd use only [0-9]+, any value with at least one number would pass the validation.
Once you add the regex pattern, write the validation description to help your content creators fill in the correct values in content items.
Developers can also set custom validation rules with regular expressions for text elements using Management API.