Schedule publish
There are situations where you might want to set a publish date for a content item. This allows you to prepare and schedule content changes that are automatically triggered at a specific point in time.
Keep in mind that changing a workflow step depends on your role permissions and your project's workflow setup.
- Learn how to move content through its lifecycle – send to review, publish, and archive.
Schedule a content item for publishing
- In
Content & assets, open a content item you want to schedule for publishing.
- Click
Publish….
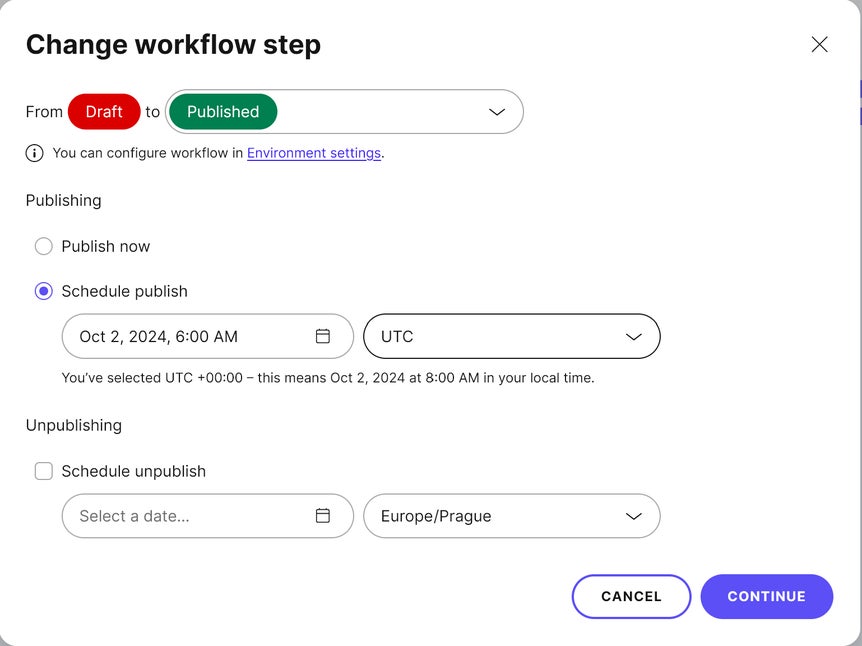
- Select Schedule publish.
- Select a date, time, and time zone.
- The pre-selected time zone matches the time zone on your device. You can select another time zone based on the region in which you’re publishing the content.
- Click Done.
- Click Schedule publish.

Publishing with linked content items and non-localizable elements
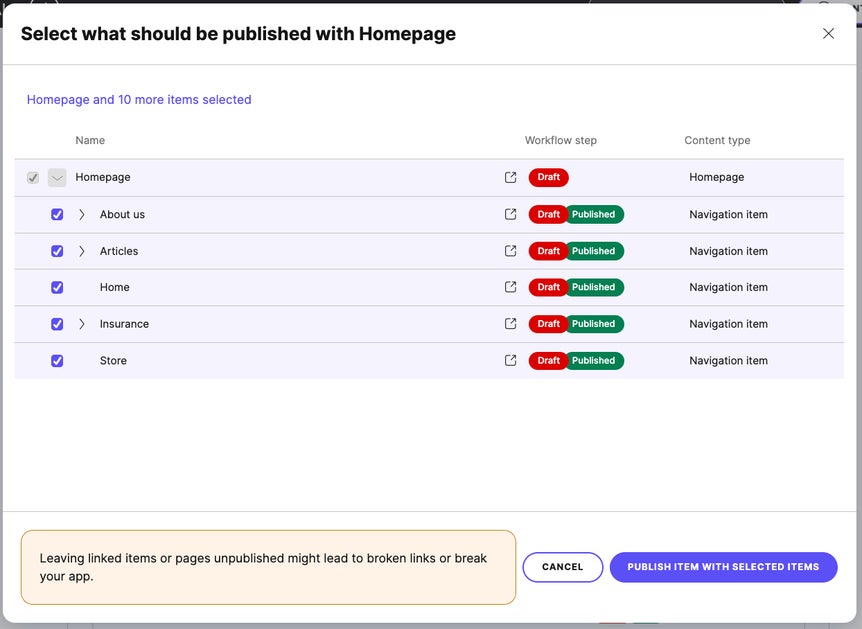
If the content item contains any links to content items or linked content items, you can publish the other items at the same time to prevent broken links or even breaking your app. If you're publishing content that isn't in the default language and it contains non-localizable elements, you can also publish the default variant of the content item in one go. To publish more items with your content item, choose the items you would like to publish with the original item and click Publish item with selected items. All unselected items will remain in their current workflow steps.
- The linked item's workflow requires further steps prior to publishing.
- Your role doesn't have permission to publish that linked item.
- The linked item is already published.
Schedule multiple content items for publishing
- In
Content & assets, select the content items you want to schedule for publishing.
- Click
.
- Click Publish.
- You can schedule items for publishing in bulk only if all the selected items can transition to the Published workflow step. This is based on your workflow setup.
- Select Schedule publish.
- Select a date, time, and time zone.
- The pre-selected time zone matches the time zone on your device. You can select another time zone based on the region in which you’re publishing the content.
- Click Done.
- Click Save changes.
Cancel scheduled publishing
- In
Content & assets, open a content item you want to unschedule.
- In the notification bar at the top, click
Remove publishing schedule.
- Click
Remove schedule in the popup to confirm.
Cancel scheduling for multiple items
- In
Content & assets, select the content items you want to unschedule.
- Click
.
- Click Remove publishing schedule.
- Click
Remove schedule.